Ant Evolution Mutations Tier List
Which Ant Evolution mutation rolls deserve your DNA — and which to skip.
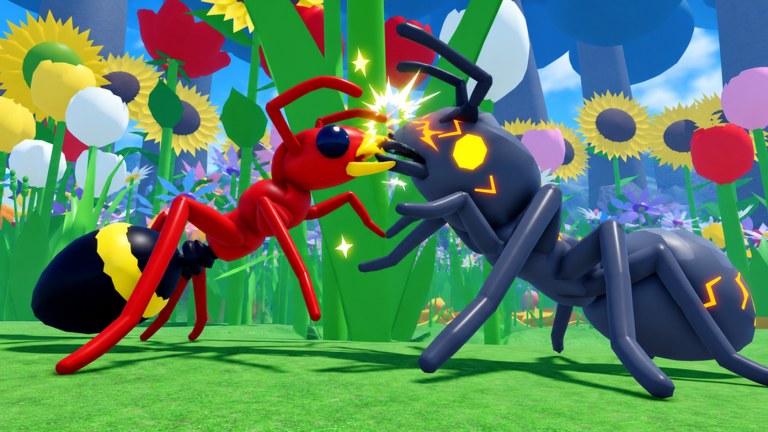
Mutation rolls are the identity system of Ant Evolution. Eating food makes you bigger; mutations decide whether that size translates into speed, burn damage, bulk, or dead weight. This tier list ranks common mutation directions players chase after redeeming free rolls from codes and farming DNA on standard routes.
Exact internal names can vary as the developers add new rolls, so we group by effect fantasy (mobility, firepower, sustain, utility). Match these groups to what you see in the roll UI, then confirm performance in a short fight against bugs before committing to a Giant Mantis pull.
S tier — always strong
Wings-style mobility
Movement mutations that let you rotate between food piles faster win the economy war. First ant to the acorn cluster grows first. Mobility also helps disengage from player ganks and reposition during Mantis telegraphs.
Fire-style burst / DoT
Offensive mutations that amplify bite damage or add lingering burn melt critters and shave boss phases. Pair with Auto Skills style abilities (Spit, Meteor, Stomp) described on the Scripts and combat builds pages — even on manual play, the same ability cadence matters.
A tier — excellent defaults
Sustain / regeneration
If you die during contested farms, a sustain mutation outperforms a second damage roll. Surviving lets you keep stacks of food progress that a corpse run would erase.
Armor / damage reduction
Great for multi-bug piles and Mantis slam patterns. Slightly slower clears than pure fire builds, but far more consistent for solo players.
Hybrid power morphs
Any mutation that both raises damage and offers a small utility hook (short dash, wider bite hitbox, mild lifesteal) lands here when the numbers feel noticeable in the first minute of testing.
B tier — situational
Crowd control / slow fields
Shine when lobbies are packed and players collide on the same seed nodes. Less valuable in empty servers where raw move speed farms faster.
Niche elemental quirks
Fun and sometimes strong against specific critter types, but not universal. Keep if it synergises with your evolve path; reroll if it fights your primary damage type.
Summon / pet-like helpers
Helpful for AFK-leaning farms, weaker when you need burst for a timed Mantis window.
C tier — filler
Tiny stat pads
Single-digit power bumps that consume a roll slot without changing how fights feel. Accept only when you are DNA-starved and about to evolve anyway.
Cosmetic-leaning rolls
Look cool in screenshots, rarely carry a rebirth. Save these for after you already own an S/A core.
D tier — reroll priority
Anti-synergy kits
Anything that slows you down, reduces bite tempo, or conflicts with your main damage channel belongs here. Holding a D-tier roll “just in case” usually costs more than banking DNA for the next evolution.
DNA spending rules
- Redeem ANTS and RELEASE DNA before rolling so you have a buffer.
- Stop after two bad rolls — return to the farming guide instead of gambling the bank.
- Test each new mutation on bugs for sixty seconds before entering PvP zones.
- Before rebirth, lock an S/A core; do not rebirth with only C-tier filler if you can farm one more session.
- Read the narrative mutations guide for roll UI tips and inventory management.
Sample early loadouts
Farm starter: mobility + sustain
Boss prep: mobility + fire burst + armor
PvP skirmish: mobility + burst + control
Swap to the matching kit on the Combat Builds page when your goals change mid-session.
Related pages
Treat every roll as an investment. In Ant Evolution, the ants who climb leaderboards are not always the ones who rolled the most — they are the ones who refused to keep D-tier mutations equipped.
Frequently Asked Questions
Quick answers for Ant Evolution players.
Should I reroll a B-tier mutation?
Keep it if it supports your current goal (farm or PvP). Reroll when you have spare DNA and need an S/A piece for Mantis.
Do codes give better mutation odds?
Codes grant free rolls and DNA; they do not change the loot table. They simply let you roll more often.
Can I equip every mutation at once?
Slot limits apply. Prioritise a tight S/A core over a cluttered bag of C-tier pads.
Where do I learn the roll UI?
See the full Mutations Guide for step-by-step rolling and equipping.